Amaryllis – No Naked Lady
December is a festive time and during the celebrations there is a good chance that you will visit with family, friends and neighbours. When you are invited over to their place, protocol calls for a ‘hostess’ gift. I recommend that you bring a gift amaryllis bulb to your host. Why not? It is portable, affordable, a reliable performer and when it flowers it provides lasting memories of the good time celebrated on the night of.
The amaryllis that you purchase as a bulb is actually a hippeastrum, a hybridized version of a South American native. The REAL amaryllis is a native of South Africa and is sometimes called a belladonna lily or Naked Lady. Your amaryllis is no naked lady.
Here are my top 5 tips for buying a quality amaryllis bulb and growing it successfully:
- Amaryllis and wine. The amaryllis has a lot in common with a bottle of wine. They are generally in the same price range, both are consumable (though an amaryllis can last for years) and indirectly, they are both products of Mother Nature. A ‘quality’ amaryllis is determined by its size, most of all – the quality of wine is determined by its taste. Thus ends the comparison. Don’t eat your amaryllis.
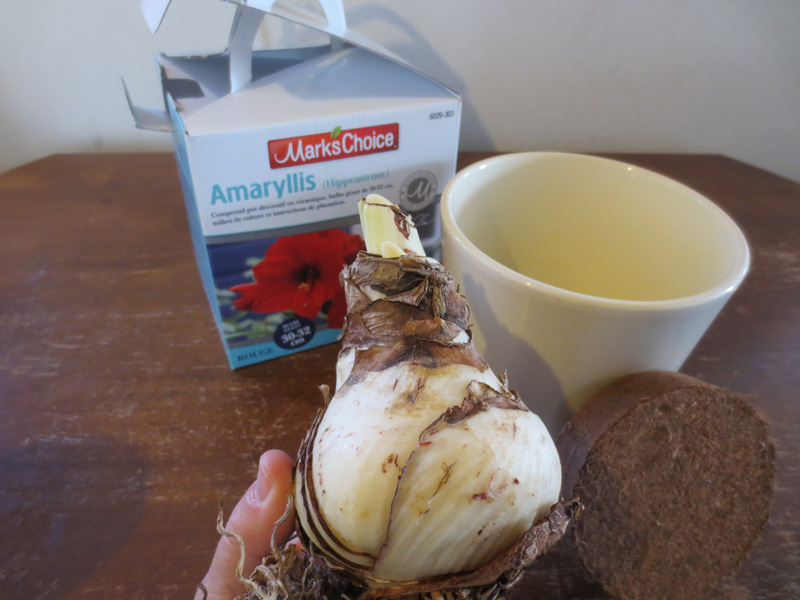
Like all Holland bulbs, an amaryllis is measured by its diameter – a 24 to 26 cm bulb is very common but a 30 to 32 cm bulb performs much better. The larger it is the more stems of blossoms it will grow and the larger the blossoms will be (though blossom size is partly the function of hybridizing). To test the health of a bulb, give it a squeeze as you would an onion – it should be firm and just a little bit elastic, bouncing back after you press your thumb into its flesh.
- Starting. To get your amaryllis off to the best start possible be sure to plant it in sterile soil (not garden soil) and press the bulb into the soil firmly giving it a gentle turn or ‘screw’ like a light bulb (!). Leave about 1/3 of the bulb exposed, above the soil. If you plant the whole bulb you risk the whole thing rotting before it has a chance to impress you with spectacular blossoms. Water it well and let the top centimetre or so of soil become dry between watering. Your amaryllis bulb arrives at your home in a dormant state. It will begin to grow when it is exposed to sunshine and temperatures in the range of 18 to 22oC.
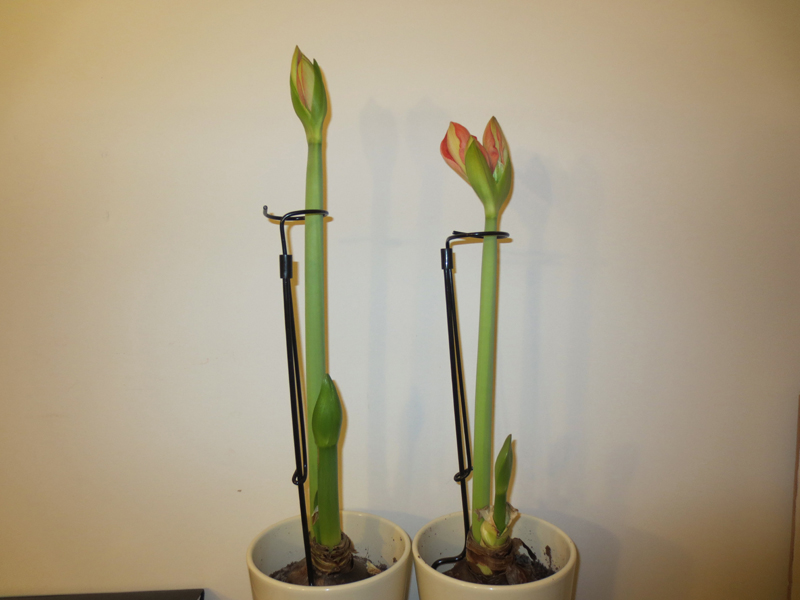
- Growing. As your bulb comes to life you may notice that the leaves push through the top portion of the bulb first: don’t be alarmed. This does not mean that your amaryllis is going to skip the flowering phase. Some bulbs will flower first. Go figure –this is nature.
As the first flower stem grows be sure to turn your plant away from the sun every second day otherwise it will tilt in the direction of the window and eventually fall over. There are some handy ‘amaryllis stakes’ on the market now that help stabilize the plant as it matures. Do not fertilize while in the growing phase.
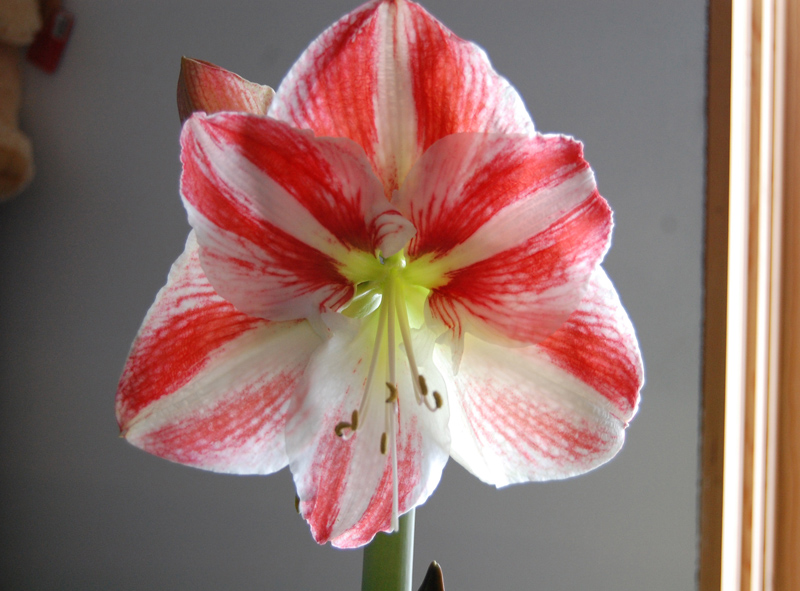
- Flowering. When the first stem begins to bloom pull the plant back into the room where there is less direct sunlight. This will have the effect of slowing down the blooming process and prolonging it, providing the maximum amount of time for you to enjoy it. The second and third (!) flower stem usually arrive in the lower light situation, but if yours is stubborn, put it back in a high-light window and wait for the new flower stems to arrive.
- Post flowering. Mid to late winter your amaryllis will have exhausted itself and finished flowering. Now it needs a rest, which consists of producing a lot of leaves that need the direct exposure to the sun, once again. The leaves are the food-factory of the bulb. They will convert the energy of the sun into nutrition that will be transported to the bulb to help beef it up for a reflowering period next season. I call this process a miracle. Some people are less impressed but they clearly have not taken the time to think about this alchemy of nature.
To get it to reflower next winter, sink the pot and all into the ground in your garden (or a friend’s garden) come May and leave it there for the summer. A sunny location works best. When the leaves turn brown cut them off and let nature take her course over the remainder of the gardening season.
In early September, remove it from the ground, clean it off and re pot it into fresh soil. Keep in indoors in a cool location with low light for 6 to 10 weeks and water sparingly.
When you see a new shoot poking its way through the top of the bulb it is ready for step #1 all over again.
A properly cared for amaryllis can last for years with a little care and attention.


